
More than often at a party you will find me at the food table, and more than likely specifically digging into the cheese plater. I do this not to be anti-social or because I don't take to any of the other food or company on offer, but because I really, really like cheese. "More than almost any other animal by-product," as Eunice would say. But how does one truly judge their dedication to a food? When do you cross over from a mere enthusiastic consumer, to a fanatic, to an expert? For this, I would like to make an analogy to art.
A love of cheese, like art, does not have to be completely all-accepting. But there must be a willingness to give each kind a go, and to appreciate it as its own form before critiquing it. And this must be done for the most genuine reasons, for the pure enjoyment of the individual. Forget the art, the schmoozing and the free wine at opening night. Let's look at the fromage on the sad little platter on the side.
I have found that in the past, my appreciation for most art forms heighten at the moment when I fully realise the skill with which they were created. Never have I appreciated the art of the nude figure, so ubiquitously repeated throughout history, as much as I did when my own nude drawings came out unintentionally Giacometti-esque. Never have I appreciated film photography so much as the day the man at the camera store announced that I had wound the film strip backwards and therefore had assuredly erased all my images.
And so long story short: now it is time I endeavour to appreciate the art form that I love so dearly: cheese. And through the best system I know how to - give it a go myself!
How to make a very basic fromage blanc (farmers' cheese)
STEP ONE: GATHER YOUR MATERIALS

- 2L Milk - this will be the greatest factor regarding the taste of your cheese. Unpasteurised milk would be most ideal, however full cream will be just fine.
- A curdling agent - 2 tsp of rennet or white vinegar, or as pictured above, lemons (the juice of one lemon per litre of milk)
- A pinch of salt
- A spoon
- Cheese cloth (these can be bought in specialty food stores, but can also be bought from Lincraft for approx. $6/m)
- String
- Colander
- Thermometer
STEP TWO: HEAT THE MILK

STEP THREE: SQUEEZE THE LEMONS

Whilst the milk is heating up, juice your lemons. One lemon per litre of milk.
STEP FOUR: ADD THE LEMON TO THE MILK
 Once your milk is the desired temperature, pour in the lemon juice. Stir to combine. You should start to see the curds and whey separate into an attractive mixture such as the one above. It looks rather disastrous, but do not be phased! Leave the mixture to set - again, there are different suggested times ranging from 10 minutes to a few hours. I left mine to sit for about 15 minutes.

STEP FOUR: SEPARATE THE CURDS AND WHEY

STEP FOUR: HANG TO DRAIN
 Once you have poured all the curds and whey into the colander, lift the four corners of the cheese cloth and bring them together. Tie them with a piece of string and attach it to the handle of your wooden spoon. Balance the spoon across the rims of the pot, so that the ball of curds & whey will hang however not touch the bottom. Leave for about half an hour.
STEP FIVE: UNWRAP YOUR CHEESE!
 After a while you will see that a significant amount of whey will drip out of the cheesecloth, leaving a smaller & more saturated volume inside. You can try to squeeze more whey out of it, but be wary that the liquid may still be warm from before.


STEP FIVE: UNWRAP YOUR CHEESE!


WoOHOoo! You just made cheese! To quote Food Wishes, "look at those sexy cheesecloth marks. Cheesecloth is like the fishnet stocking of kitchen equipment."
STEP SIX: EAT YOUR CHEESE!

You can use your cheese in ways similar to cottage, ricotta or cream cheese. Crumble it up and sprinkle it over apples and strawberries (or any other fruits you like).
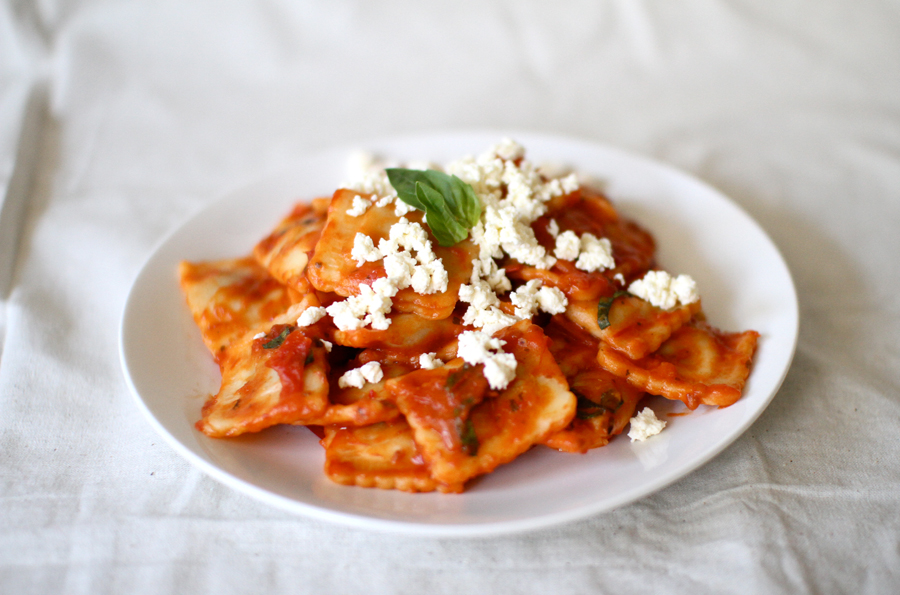
Or why not sprinkle it atop some ravioli?

And there you have it! By the time you get to this stage (whether you have made the cheese and consumed it, or if you have made it through this colossal post) you should be pretty cheesed out! If you have leftover cheese, put it in a container in the fridge and it should keep for about a week. It has quite a malleable taste, so you can experiment with adding more salt, pepper, herbs or even drizzling olive oil. Experiment with sweet & savoury flavours! There are so many factors and variables, I feel that I have only just opened a door to a plethora of experimental opportunities! I can't wait to try a different variation, and hopefully come up with my own Vanessa cheese!
But hey! Why not check out some other variations? I found the following articles especially helpful:
- Homemade cheese recipes - Hugh Fearnley-Whittingstall
- You Don't Have To Be A Cheese Whiz To Make Your Own Formage Blanc - Food Wishes
I've always wanted to try making my own cheese. You've inspired me to give it a go over the holidays. Can't wait to catch up soon x
ReplyDelete